
By Libbie Summers
Assisted by David Dempsey
Between decorating parties, cake tops, rooms, packages, dogs and clothing, I’ve made more pom poms than I could possibly remember. Below is the hand wrapping method for making a pom pom that I teach everyone who works with me. Between the last three assistants (Anna, Candace and David), none of them could make a pom pom when they started. Now…they are all experts…and probably never want to make another one again!
Hand Pom Poms:
Ingredients:
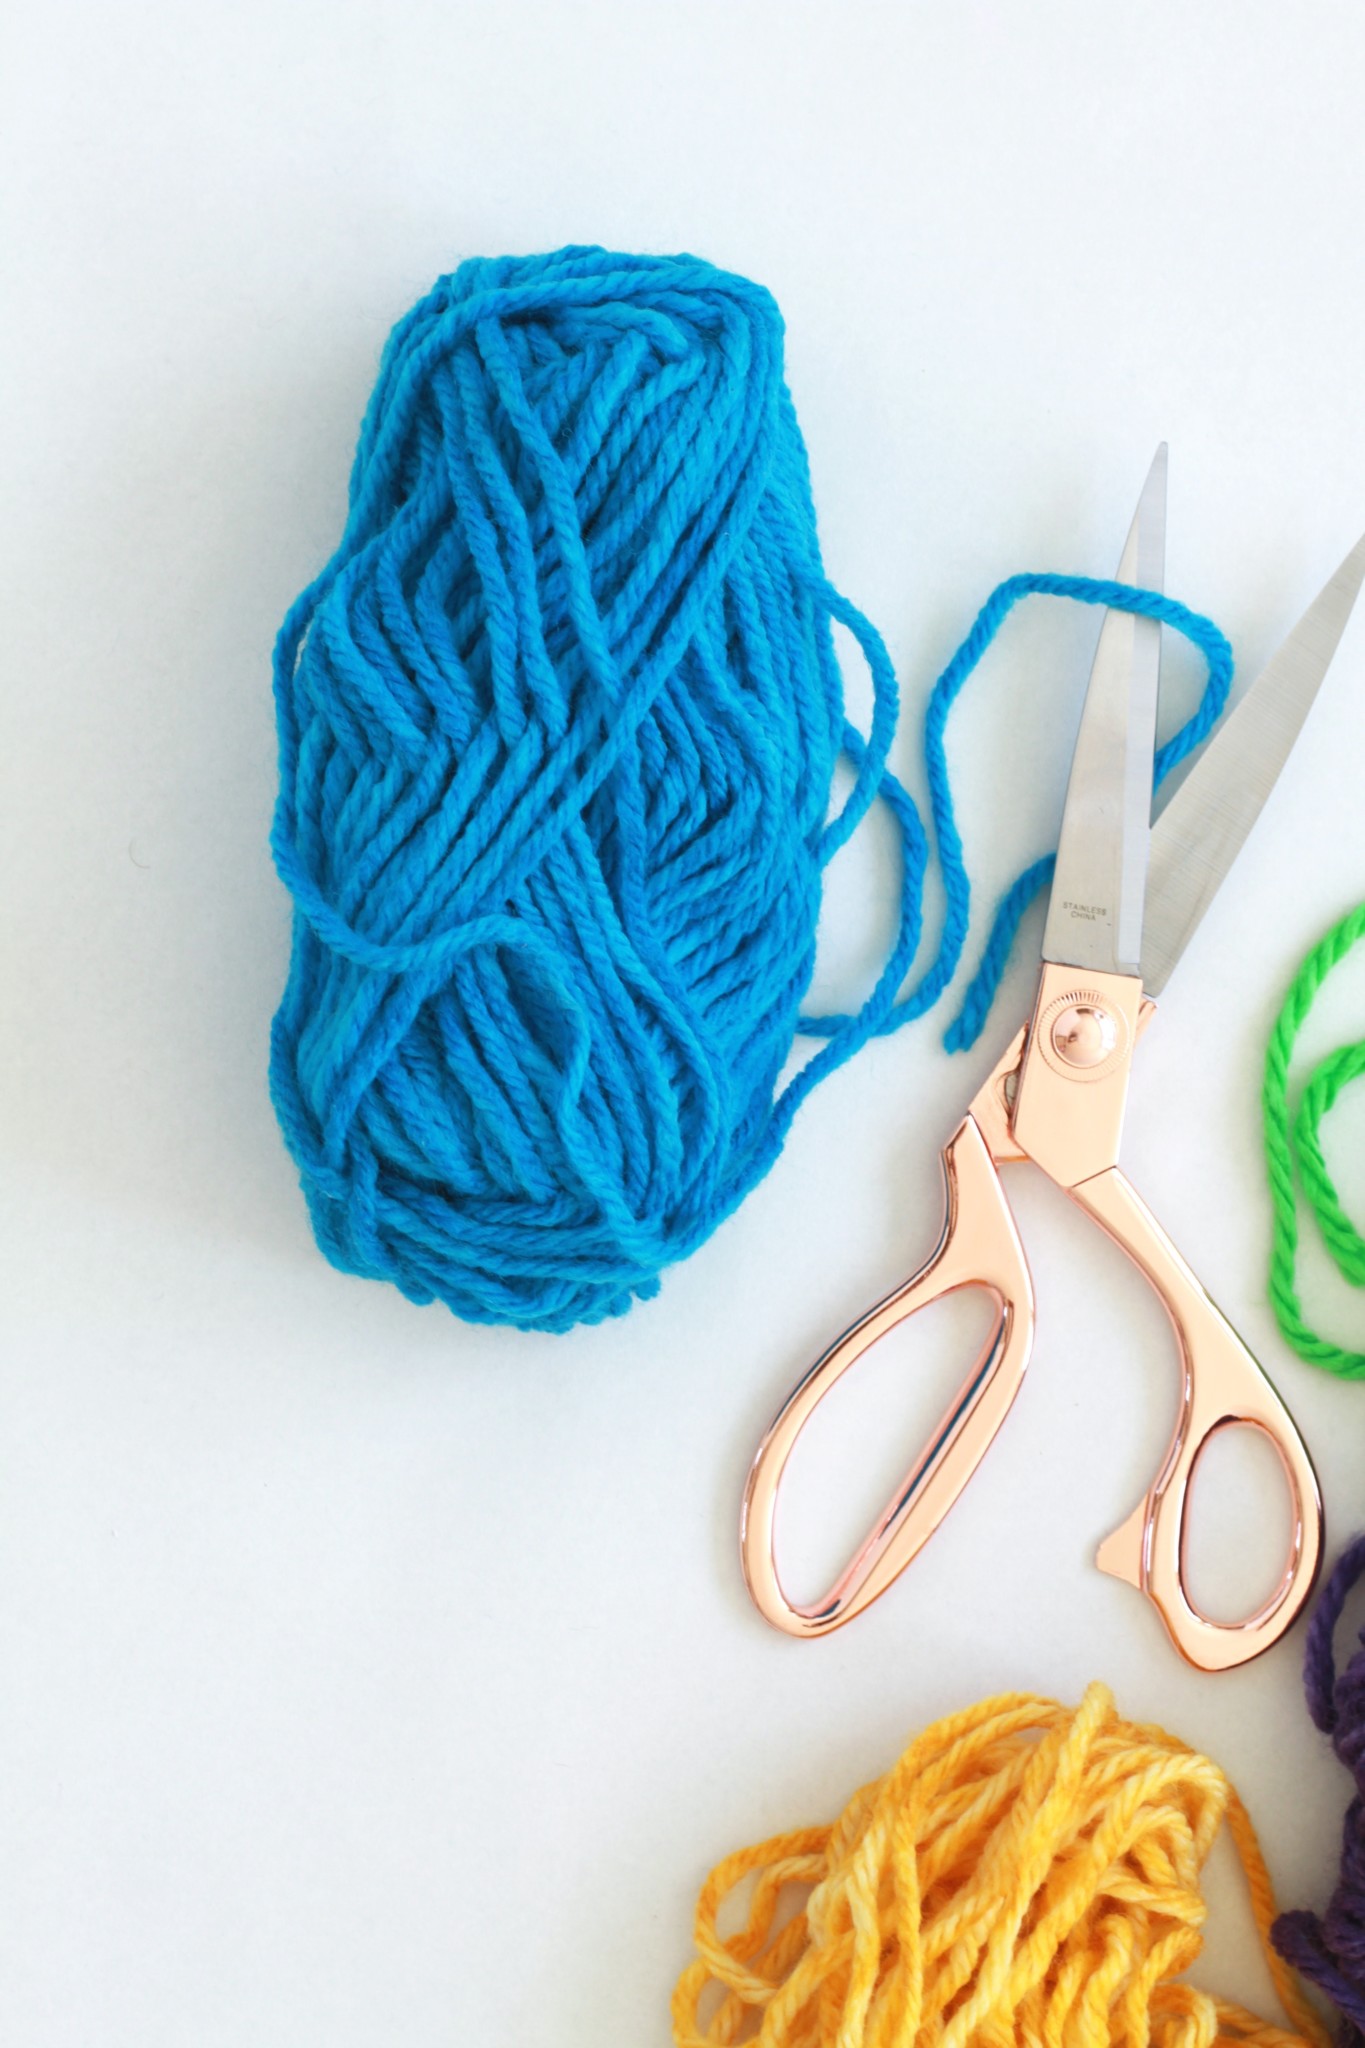
1 skien of yarn (the thicker the yarn, the fluffier the pom pom)
1 pair sharp scissors
Step 1:
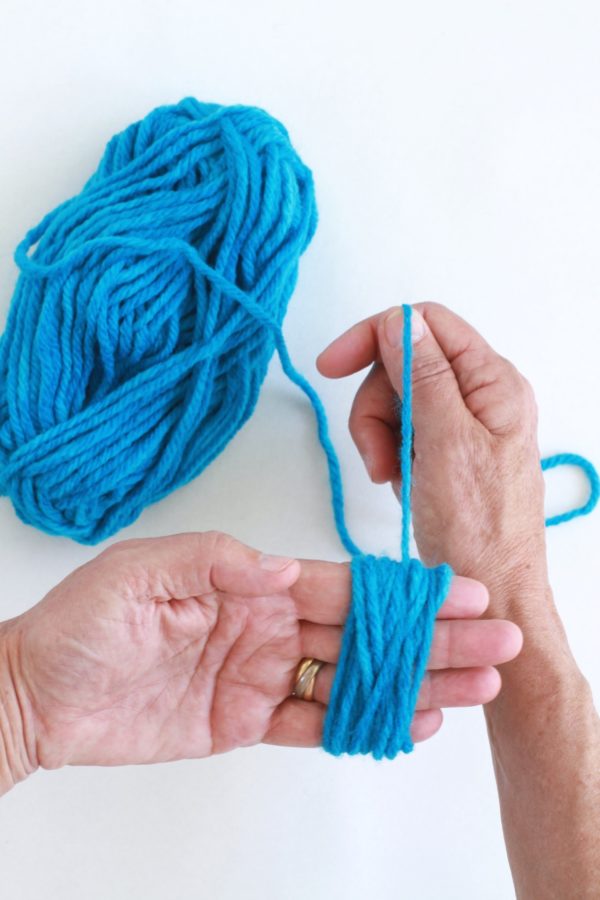
Begin by wrapping yarn around four fingers, about 60 times.
Step 2:
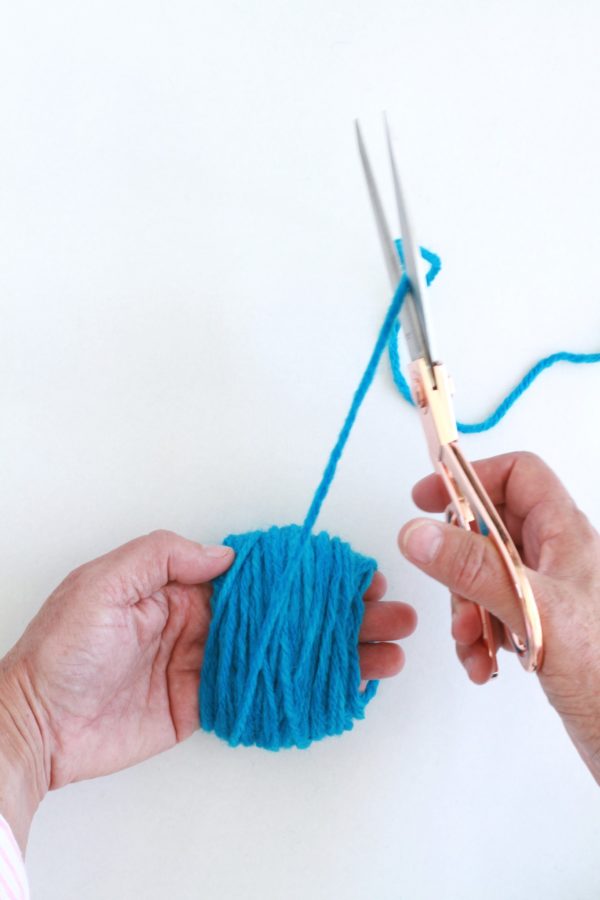
After you’ve wrapped a thick amount, leave a bit of slack and cut a piece off (about 8-inches long)
Step 3:
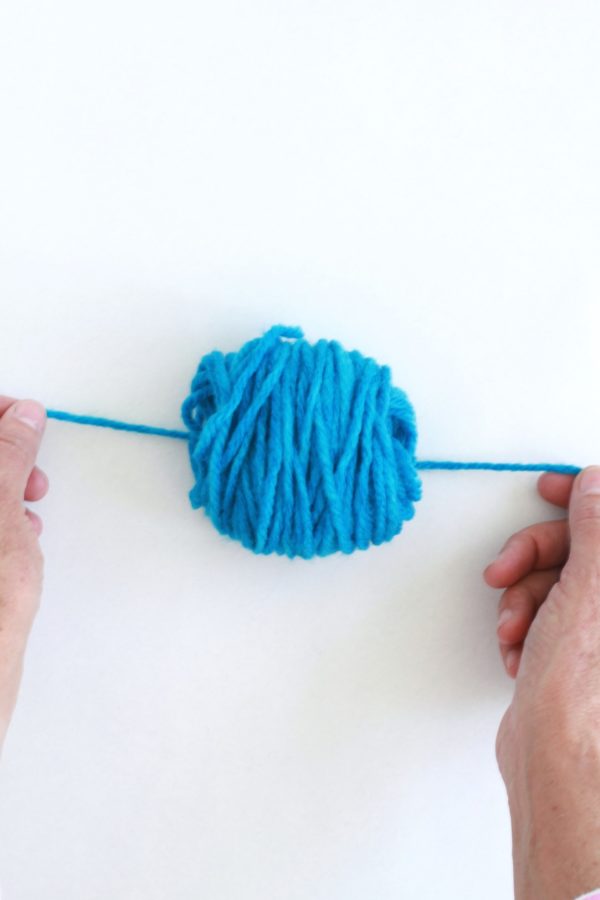
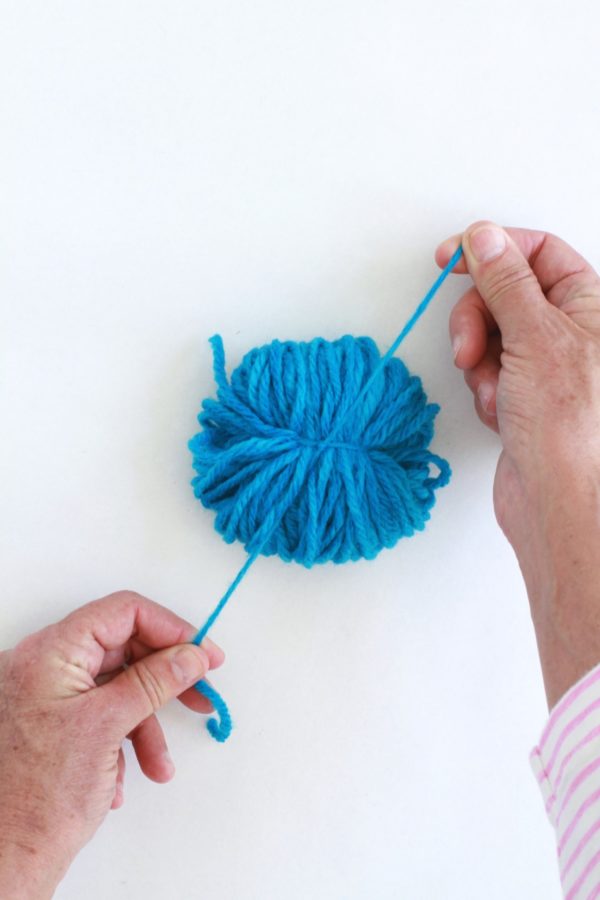
Remove yarn from your fingers and tie tightly using the piece you cut off.
Step 4:
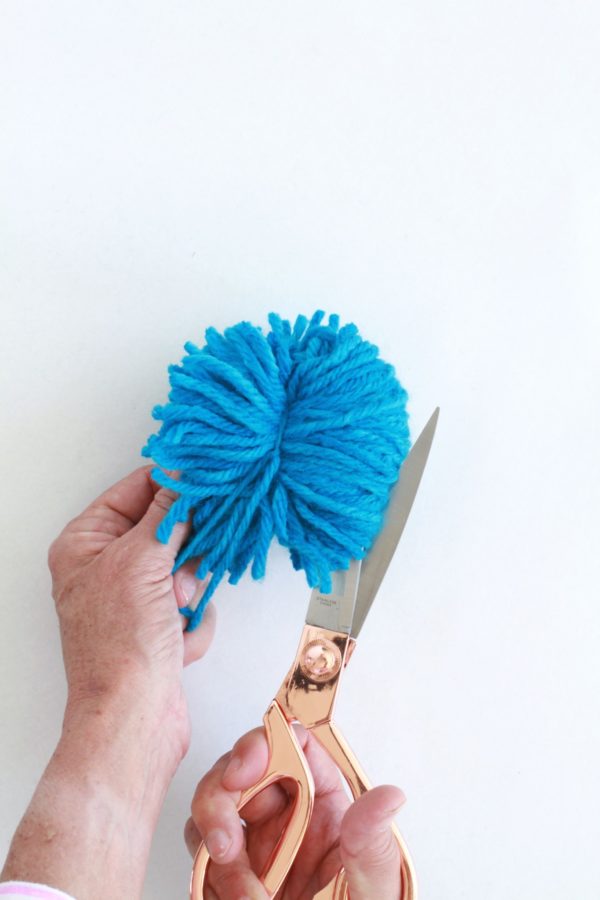
Using your scissors, cut through the loops you’ve created by tying the yarn through the middle.
Step 5:
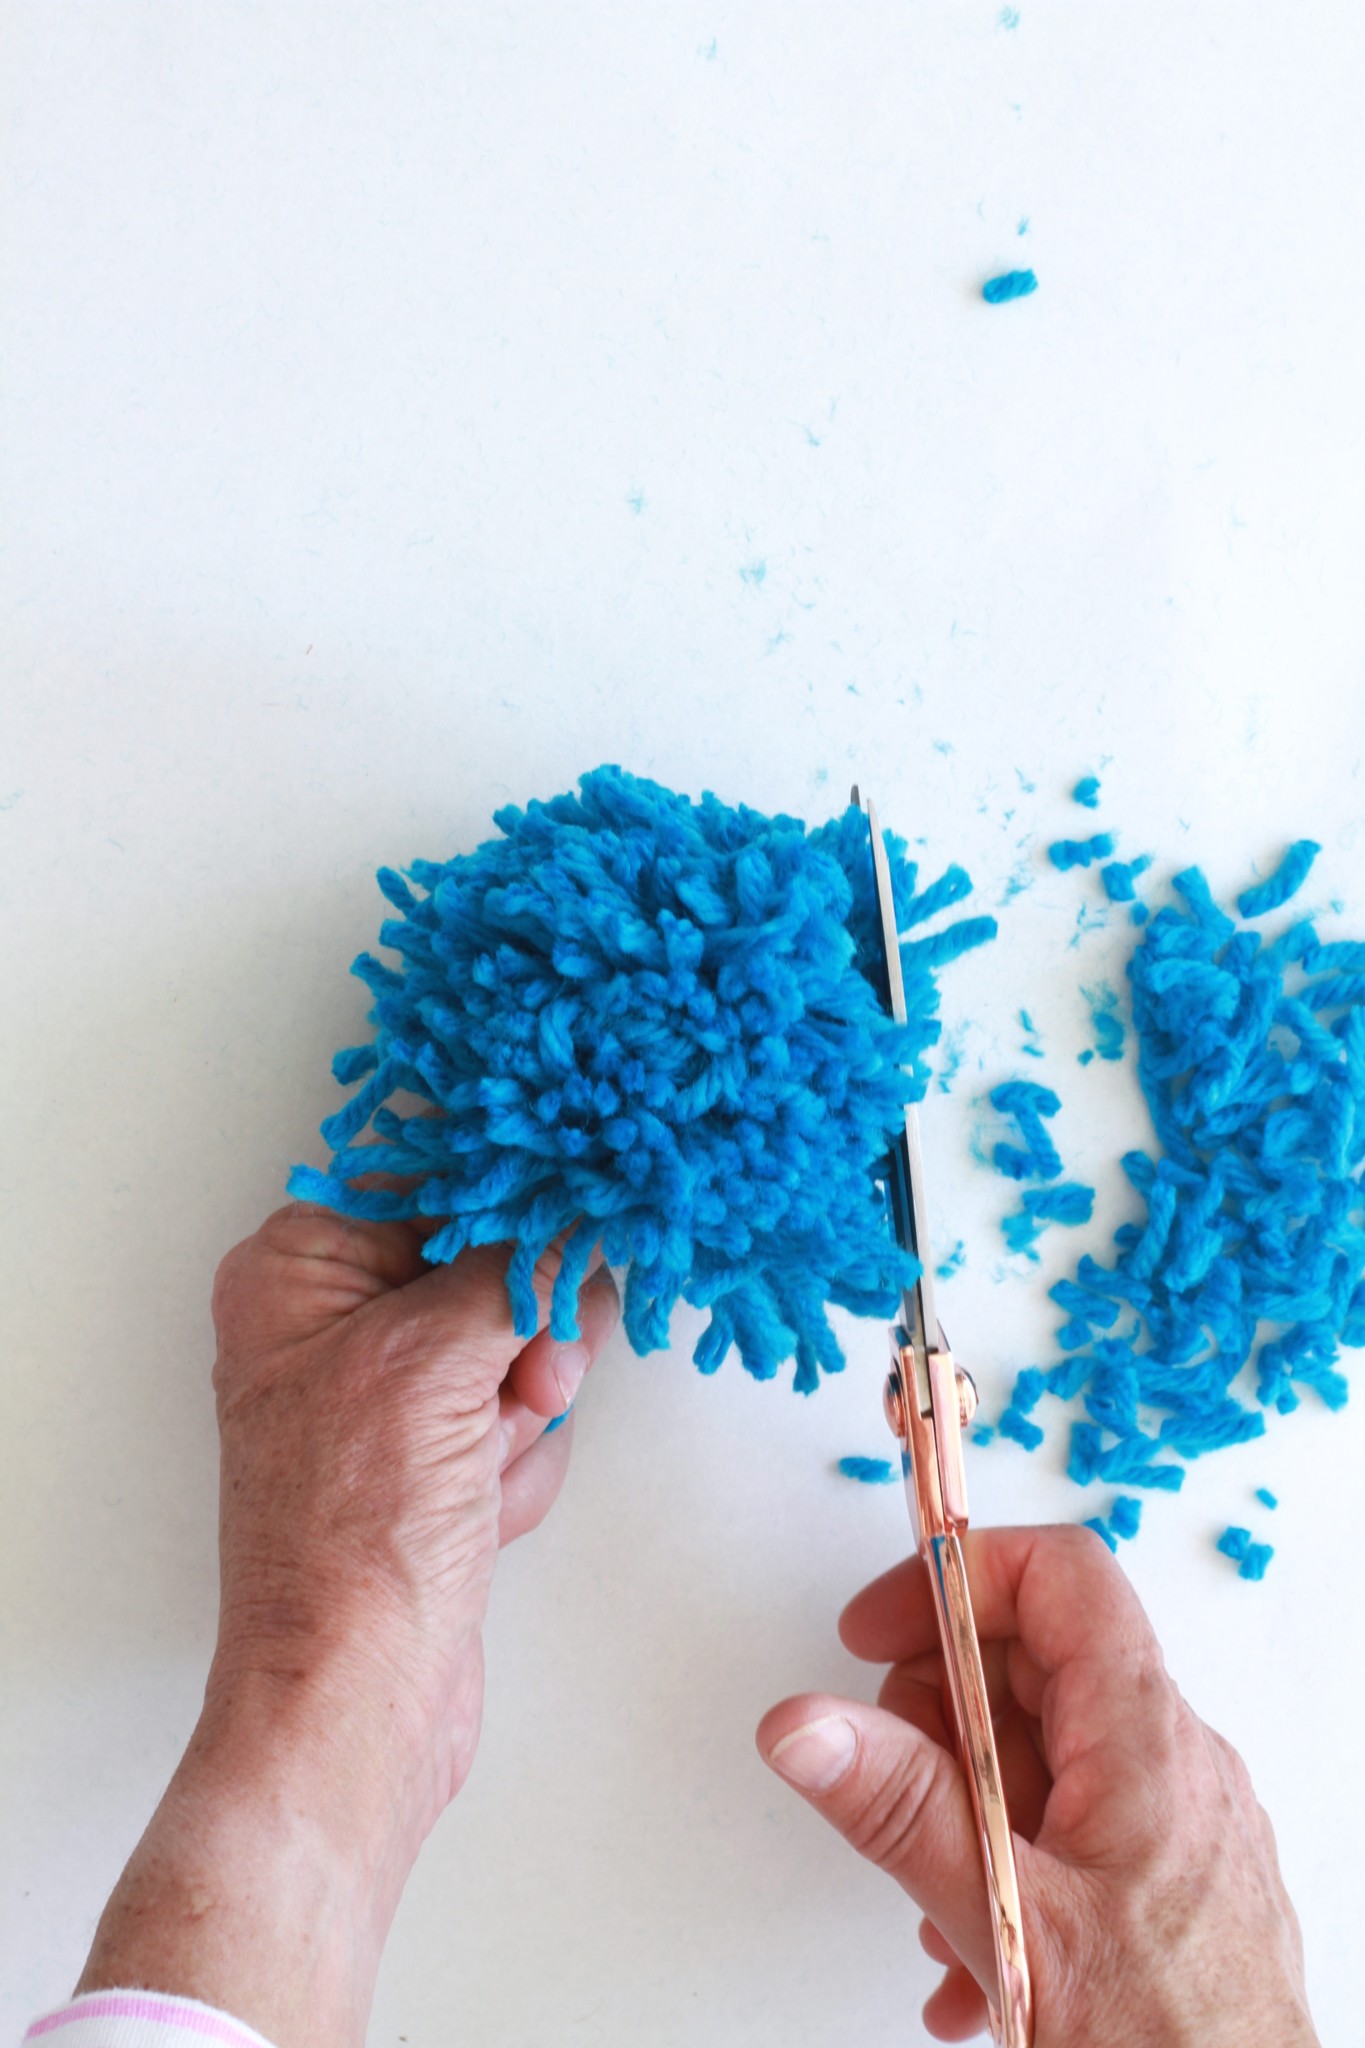
Now is when the magic happens. Clean up your circle shape by trimming your yarn. For a tight pom pom, you’ll be trimming off quite a bit.
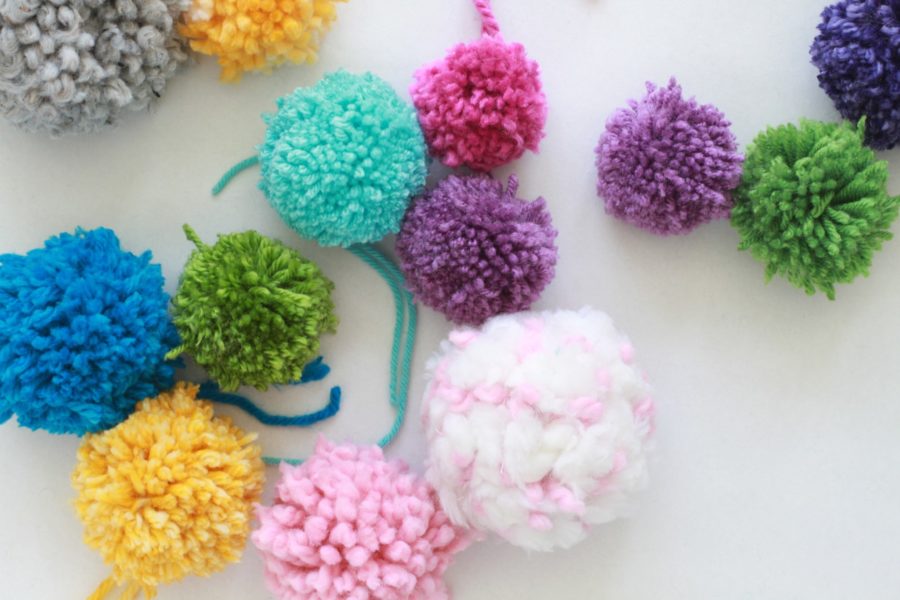
When finished you’ll have something like this:

The possibilities for usage are infinite!!!


No comments yet. You should be kind and add one!