By Libbie Summers
Photography by Anna Heritage
Assisted by Candace Brower
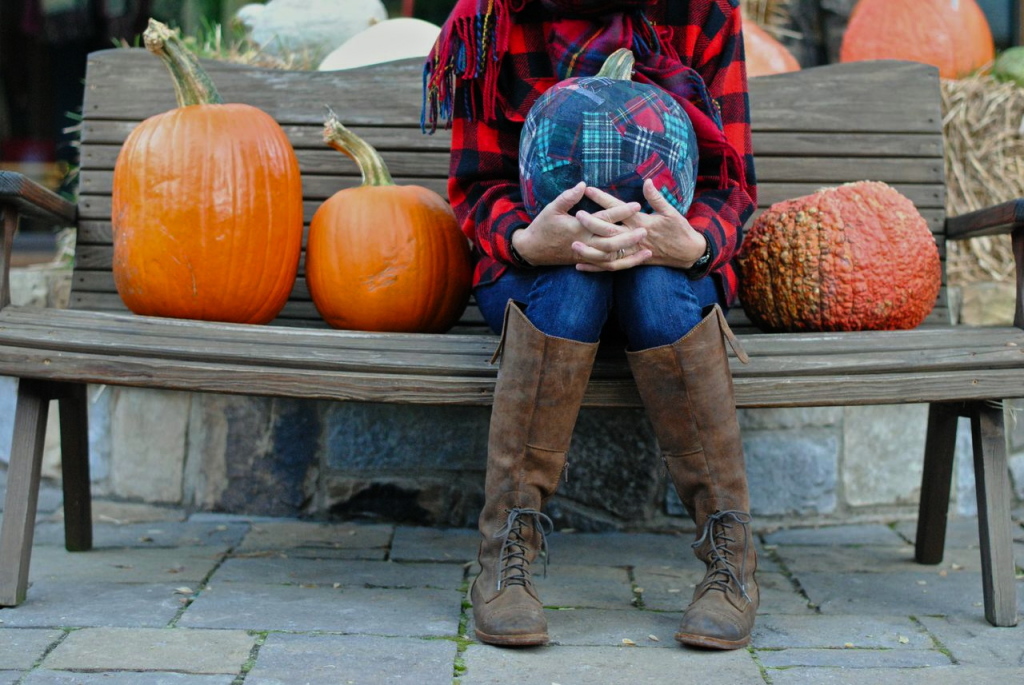
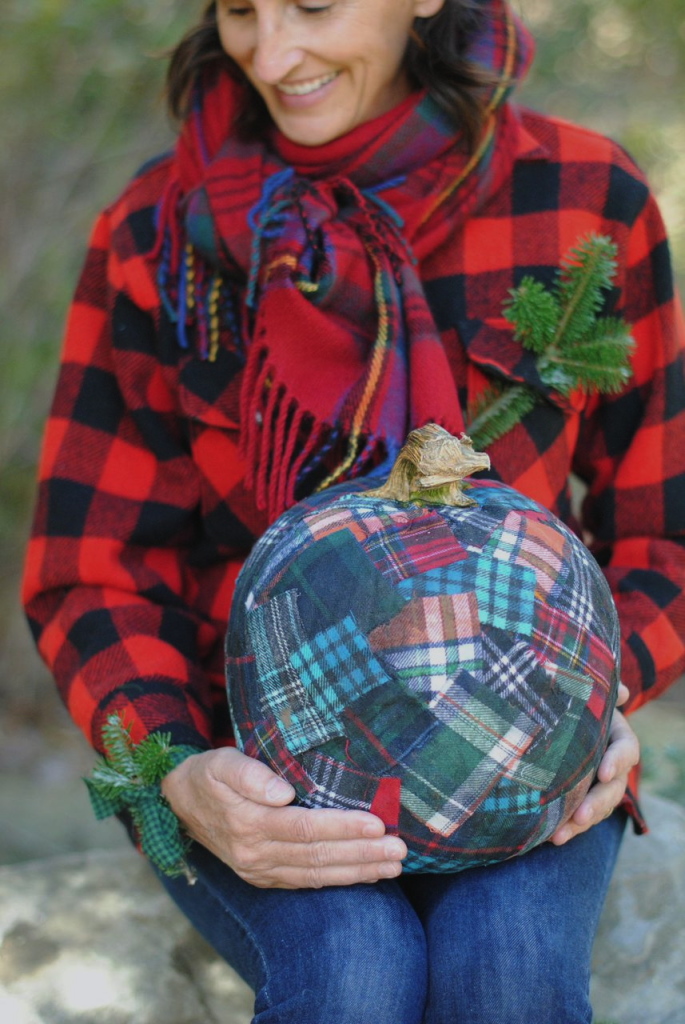
It’s not a trend thing for me, I’ve always been obsessed with plaid. So this year, I’ve decided to make it the centerpiece of my Holiday table with this plaid pumpkin. Quite possibly the cutest thing I have ever put in the middle of a table.
Plaid Pumpkin
What you’ll need:
•1 medium pumpkin with a showy stem
•Scraps of plaid fabric in a variety of colors and plaids cut into a variety of squares and rectangles (2 to 4-inches), I purchased mine at JO-ANN Fabrics
•Mod Podge (sealer glue) in a matte finish (I used about 3/4 of a 16 ounce bottle for this pumpkin)
•Disposable plate
•Craft paint brush
•Plastic to cover your work surface (I use a trash bag)
How to:
Cover your work surface with plastic…this can get a little messy. Lay pumpkin on it’s side and work to cover the bottom of the pumpkin first. Pour a decent amount of the Mod Podge onto the disposable plate and use the brush to paint on a thick layer on the area you are about to cover. Allow to dry for just a minute. Working with one piece of fabric at a time, paint the bottom of the piece of fabric with a Mod Podge and place it onto the pumpkin you have already painted. Generously paint more of the Mod Podge over the top of the fabric. Continue this process with more fabric to cover the bottom of the pumpkin, overlapping fabric where needed. Place the pumpkin on it’s side to allow the bottom to dry to the touch (a couple of hours or over night). While the bottom is drying, wash off your plate and clean your brush with hot water.
Once the bottom of the pumpkin is dry, set it upright and use the same method to work your way up the sides of the pumpkin until completely covered. Allow to dry overnight.
Great as the centerpiece of a holiday table!
Follow my Plaidapalooza Pinterest Board for more plaid inspired fun!


No comments yet. You should be kind and add one!